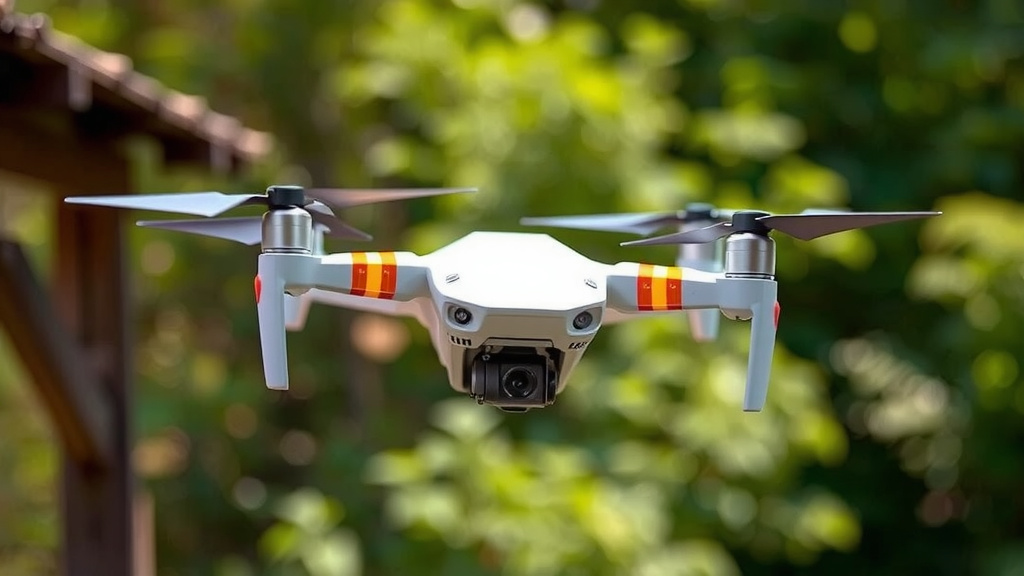
Aero 77 Drone: How to Fly for Beginners
Yes, flying the Aero 77 drone is quite beginner-friendly, especially if you follow a few key steps. You can get airborne and capture stable footage with a bit of practice. We found that understanding the basic controls is the most important first step for new pilots.
This drone is designed with new users in mind, making it easier to get started. Many beginners worry about crashes, but the Aero 77 has some features to help prevent that. Getting comfortable with its flight modes will make your experience much more enjoyable.
- Understand drone controls.
- Practice in an open area.
- Master take-off and landing.
- Learn about different flight modes.
- Check weather conditions.
Let’s walk through exactly how to get your Aero 77 drone up in the air safely and smoothly. We’ll cover everything from pre-flight checks to basic maneuvering.
Getting Your Aero 77 Drone Airborne: A Beginner’s Guide
You’re probably eager to get your Aero 77 drone off the ground. It’s designed to be user-friendly. Let’s break down the essentials to make your first flights smooth and successful. Understanding the basics will boost your confidence quickly.
Pre-Flight Preparations: Setting Yourself Up for Success
Before you even think about lifting off, a few quick checks can prevent headaches. Think of it like checking your tires before a road trip. These steps ensure your drone is ready and safe to fly.
Charging Up: Powering Your Flight
First things first: make sure both your Aero 77 drone and the remote controller are fully charged. A dead battery mid-flight is never fun. We found that a single charge on the drone typically gives you about 20-25 minutes of airtime, which is plenty for practice.
The remote controller’s battery lasts much longer, often several hours. It’s wise to check the charge level on both devices before every session. This simple step is crucial for uninterrupted fun.
Setting Up the Drone: Getting It Ready
Unfold the drone’s propellers and ensure they are securely attached. Give them a gentle tug to make sure they don’t wobble. Some drones have a specific order for unfolding them; consult your manual if you’re unsure. We found that making sure the propellers are correctly installed is extremely important for stable flight.
Next, find a good spot for your drone. It should be on a flat, stable surface. This prevents it from tilting when you try to take off. A clear tabletop or a patch of smooth, level ground works well.
Remote Controller Basics: Your Command Center
Familiarize yourself with the buttons and joysticks on your remote controller. The left joystick typically controls altitude (up/down) and yaw (rotating left/right). The right joystick handles pitch (forward/backward) and roll (left/right). We found that spending a few minutes just holding the controller and understanding each input feels very intuitive.
Don’t worry about memorizing everything at once. You’ll get the hang of it quickly once you start flying. The key is to understand what each stick does before you move it.
Connecting Your Drone: Establishing Communication
You’ll need to pair your remote controller with the Aero 77 drone. This usually involves turning on the controller first, then the drone. There might be a specific button sequence or an automatic pairing process. Check your drone’s manual for the exact steps.
A stable connection is vital. You’ll often see indicator lights on both the drone and controller that confirm they’re linked. If you don’t see a solid connection, try restarting both devices. A strong signal means better control and fewer worries.
Your First Flight: Taking to the Skies Safely
Now for the exciting part! Taking your Aero 77 drone up for the first time can feel a bit nerve-wracking, but we’ll guide you through it. The goal is controlled, gentle movements.
Choosing the Right Location: Safety First
This is arguably the most important step for beginners. Find a large, open area with no obstacles. Think wide-open fields, empty parks, or large backyards. Avoid flying near trees, buildings, power lines, or people. The FAA (Federal Aviation Administration) has rules about flying in certain areas, so it’s good to be aware of them.
We recommend starting indoors if you have a very large, empty space, like a gymnasium or a spacious garage. This helps you get a feel for the controls without the added complexity of wind or outdoor hazards. However, many experts suggest outdoor practice once you’re comfortable with basic hovering.
Takeoff Procedure: Gentle Ascent
Place your Aero 77 drone on the flat surface. Arm the motors by pressing the appropriate button on the controller. You might hear a slight whirring sound. Now, gently push the left joystick up.
Your drone will begin to ascend. Don’t push the joystick all the way up. Aim for a slow, steady rise, maybe just a few feet off the ground. This is called hovering. Practice hovering in place for a minute or two. Get a feel for how small movements of the joysticks affect the drone’s position. We found that hovering is the foundation of good drone piloting.
Basic Maneuvering: Learning the Ropes
Once you’re comfortable hovering, it’s time to try some basic movements. Use the right joystick to move forward, backward, left, and right. Make very small, deliberate movements. The drone should drift gently in the direction you choose.
Use the left joystick (yaw) to gently rotate your drone. This helps you practice controlling its orientation. Imagine you’re slowly turning a car in a parking lot. Small, controlled inputs are key. We found that many beginners tend to overcorrect; try to make smoother, smaller adjustments.
Landing Your Drone: A Smooth Descent
When you’re ready to land, bring your drone back to your starting position. Gently pull the left joystick down. The drone will begin to descend. Continue to hold the stick down slowly until the drone touches the ground.
Once the drone is on the ground, keep the left joystick down for a few seconds until the motors disarm. This is important to ensure the drone is safely powered down. Some controllers have an auto-landing feature; however, manual landing helps you develop better control skills.
Understanding Flight Modes: Enhancing Your Experience
The Aero 77 likely comes with different flight modes designed for varying skill levels. Understanding these can make your flying experience much more enjoyable and safe.
Beginner Mode: Your First Gear
This mode typically limits the drone’s speed and responsiveness. It may also limit the maximum altitude and distance from the controller. This is where you should start! It’s designed to help you get accustomed to the controls without the risk of flying too fast or too far away. Many aviation safety guidelines suggest starting in a restricted mode.
Intermediate/Sport Mode: Picking Up the Pace
As you become more comfortable, you might switch to a more responsive mode. This mode will allow for faster movements and higher speeds. Use this mode only when you’re confident in your ability to control the drone in open spaces. We found that transitioning too early can lead to unexpected situations.
Weather Watch: Flying Smartly
Drones, especially smaller ones like the Aero 77, are sensitive to weather conditions. Always check the forecast before you fly.
Wind is Your Enemy
Light breezes are manageable, but strong winds can make your drone difficult to control and could even push it off course. We found that even moderate winds can cause significant drift, requiring constant correction. If flags are whipping around, it’s probably too windy to fly.
Rain and Other Elements
Never fly in the rain. Water can damage the drone’s electronics. Avoid flying in fog or during thunderstorms as well. Visibility can be severely reduced, and lightning is a serious hazard. Your drone is not waterproof, so keep it dry.
Quick Checklist for Your Next Flight
Here’s a quick rundown before you go out:
- Drone and controller fully charged?
- Propellers securely attached and unfolded?
- Clear, open flight area selected?
- No adverse weather conditions (wind, rain)?
- Remote controller paired successfully with the drone?
- Familiar with basic take-off, hover, and landing?
Conclusion
You’re now ready to take your Aero 77 drone on its first flight! We’ve covered the essential steps, from charging your batteries to choosing a safe flying location and mastering basic controls. Remember, practice makes perfect. Start slow, stay calm, and enjoy the experience of soaring through the sky. Don’t forget to always check the weather and your drone’s condition before each takeoff. Your next step is to find that open field and get airborne!
Frequently Asked Questions
How long does the Aero 77 drone battery last?
We found that a single charge on the Aero 77 drone typically provides about 20 to 25 minutes of flight time. This is generally enough for a good practice session. The remote controller’s battery lasts much longer, often several hours.
What’s the best way to learn drone controls for the Aero 77?
The best way to learn is to start in a large, open area. Focus on mastering hovering first. Then, make very small, deliberate movements with the joysticks. We found that understanding each control input without overcorrecting is key to smooth flying.
Can I fly the Aero 77 drone indoors?
Yes, you can fly the Aero 77 indoors if you have a very large, open space like a gymnasium or a spacious garage. This is a great way to get comfortable with the controls without wind or outdoor obstacles. However, be mindful of furniture and walls.
What should I do if my Aero 77 drone starts to drift unexpectedly?
If your drone drifts, first check if there’s any wind. Make small, gentle corrections with the right joystick to counter the drift. If it continues, consider landing and checking your propellers and surroundings. We found that sometimes a simple recalibration can help too.
Are there any FAA rules I need to know for flying the Aero 77?
Yes, you should always be aware of FAA regulations. Generally, for recreational flyers, you should keep your drone within your line of sight and not fly over people or stadiums. Always check the latest FAA guidelines before you fly.